
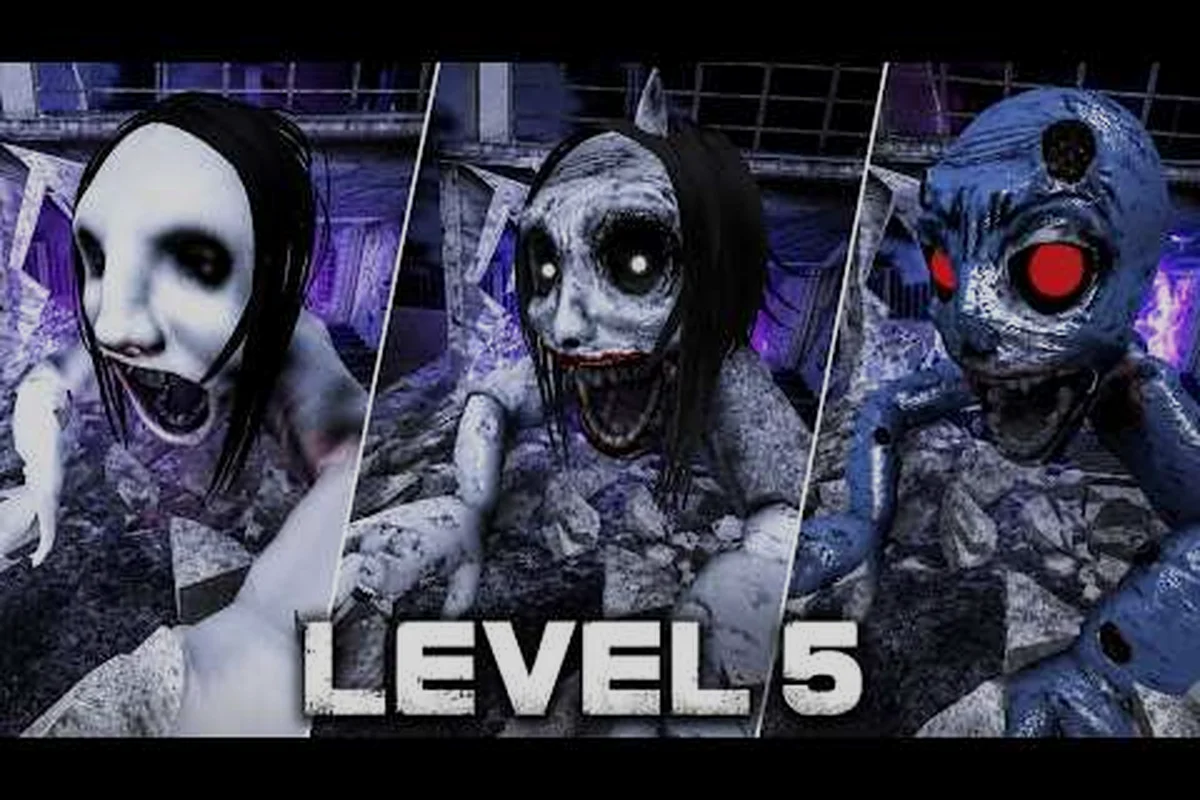
Picking a difficulty in PETAPETA is not just a pride decision — it reshapes enemy behavior, resource pressure, and how forgiving the checkpoint system feels. This PETAPETA difficulty comparison breaks down Normal, Hard, and Super Hard so you know exactly what you are signing up for before your first run.
What the PETAPETA difficulty modes actually change
The three settings are not simple damage multipliers. Based on community testing and player reports, each PETAPETA difficulty level adjusts several systems at once: enemy aggression windows, the size of your health pool relative to incoming hits, how often restorative pickups appear, and the timing windows on parries and dodges. That layered approach is why the PETAPETA mode differences feel substantial rather than cosmetic.
A useful way to think about it is that Normal teaches you the game, Hard tests whether you learned it, and Super Hard assumes you already mastered it. The core level layouts and story beats stay identical across all three, so nothing is gated behind a difficulty wall — you are only changing how much pressure the game applies while you move through the same content.
-
Normal keeps enemy telegraphs readable and gives you room to recover from two or three mistakes in a row.
-
Hard tightens reaction windows and makes healing a resource you have to plan around rather than spam.
-
Super Hard compresses those windows further and punishes sloppy positioning almost immediately.
-
No content lockout — every level and boss is reachable on any setting.
-
Switchable at the menu between runs, so you can test a higher tier without restarting your save.
If you want the broader picture of how these settings sit alongside the game's other play options, the full modes overview maps out every selection screen you will encounter. The short version: difficulty is the single biggest lever on your moment-to-moment experience.
Why the settings are not just damage sliders
A pure damage multiplier would let you brute-force your way through with enough healing. PETAPETA instead trims your reaction budget. On Normal a heavy attack might give you roughly a full second to read the wind-up and respond; on the higher tiers that window shrinks noticeably, which changes which defensive option is even viable. Players who rely on last-second dodges on Normal often find that the same input timing gets them hit on Super Hard, forcing a shift toward earlier, more deliberate spacing.
PETAPETA difficulty comparison at a glance
The table below summarizes the practical differences players report across the three tiers, mapping each system — enemy damage per hit, player health pool, parry/dodge window, healing pickup frequency, enemy aggression, and checkpoint spacing — against Normal, Hard, and Super Hard so you can see at a glance where the squeeze actually lands. Note that the two most punishing rows compound each other: shrinking the player health pool while raising enemy damage per hit means a single mistimed parry on Super Hard can erase a health bar that would have survived two or three hits on Normal. Treat the exact numbers as approximate — they reflect community observation rather than an official published spec, and small tuning changes can arrive with patches.
| System | Normal | Hard | Super Hard |
|---|---|---|---|
| Enemy damage per hit | Baseline | Increased | Highest |
| Player health pool | Largest | Reduced | Smallest |
| Parry / dodge window | Forgiving | Tightened | Tightest |
| Healing pickup frequency | Frequent | Scarce | Rarest |
| Enemy aggression | Moderate | High | Relentless |
| Checkpoint spacing | Generous | Standard | Stretched |
| Recommended for | First run | Second run | Mastery runs |
The clearest takeaway from this PETAPETA difficulty ranking is that the jump from Normal to Hard is the largest single step. Super Hard refines the Hard experience rather than reinventing it, so if you can clear Hard comfortably, Super Hard is a matter of consistency rather than a new skill set.
Reading the table correctly
Do not treat the health pool row as the whole story. A smaller pool matters most when healing is also scarce, and those two changes compound. On Normal you can absorb a bad exchange and top up shortly after; on Super Hard the same mistake costs you a resource you may not see again for several rooms. That compounding effect is the real reason the higher tiers feel so much harsher than the raw damage numbers suggest.
PETAPETA normal mode: the recommended starting point
Normal is the setting the game is balanced around for a first playthrough, and it is where most players should begin. Enemy attacks are clearly telegraphed, healing appears often enough that you can experiment with risky approaches, and checkpoints are placed so that a wipe costs you a short retry rather than a long trek. For anyone learning the level flow, this is the mode that lets you actually see the design.
The PETAPETA easy mode conversation comes up often in community threads, and the honest answer is that Normal already functions as the accessible tier. It does not punish curiosity. You can poke at optional routes, test unfamiliar mechanics, and still make steady progress. Players who treat Normal as "too easy" are usually players who have already internalized the timing from a previous run.
-
Best for: first playthrough, learning boss patterns, exploring optional areas.
-
Watch out for: building habits around generous healing that will not survive a higher tier.
-
Tip: practice deliberate parries here rather than panic dodges — the timing you learn on Normal transfers upward.
Building good habits early
The most common mistake on Normal is leaning on healing as a crutch. Because restorative pickups are frequent, it is easy to trade hits instead of learning to avoid them. A better approach is to treat every hit taken as a failure of spacing, even when you can afford it. Players who adopt that mindset find the transition to Hard far less jarring, because they never built the trade-hits habit in the first place.
PETAPETA hard mode: where the real test begins
Hard is the tier most returning players settle into. The telegraphs are still fair, but the windows are short enough that you must commit to a defensive plan rather than react late. Healing becomes a resource you track, and enemy aggression means you rarely get a free moment to reset the pace. This is the setting where the combat system's depth actually shows.
Our dedicated hard mode guide goes deeper into unlock conditions and encounter-specific tactics, but the headline is that Hard rewards preparation over reflexes. Knowing a room's layout and enemy spawn order matters more here than raw reaction speed, because you simply do not have the health buffer to improvise your way through unfamiliar fights.
| Hard mode change | Practical effect |
|---|---|
| Reduced healing drops | Forces route planning around recovery points |
| Tighter parry window | Rewards early reads over late reactions |
| Higher enemy aggression | Removes downtime between engagements |
| Standard checkpoint spacing | Punishes repeated wipes more than Normal |
Adjusting your approach for Hard
The single biggest adjustment is pacing. On Normal you can push forward and heal through mistakes; on Hard you should clear rooms methodically and preserve recovery items for boss attempts. Players report that the tier becomes manageable once they stop treating healing as infinite and start treating each encounter as a resource cost. That mental shift matters more than any individual mechanical tip.
PETAPETA super hard: for mastery runs only
Super Hard is not a fairer Hard — it is Hard with the safety margins removed. Reaction windows are at their tightest, healing is at its rarest, and enemy aggression rarely lets up. This is the tier for players chasing a clean run, a personal challenge, or a speed-focused playthrough where every second of hesitation is punished. It is also the tier where the level design's enemy placement starts to feel genuinely adversarial.
If you are planning a fast clear, the speedrun and completion routes become far more relevant on this setting, because the margin for a slow, cautious approach shrinks. Knowing exactly where enemies spawn lets you pre-position instead of reacting, which is often the difference between a clean room and a costly one.
-
Best for: players who have cleared Hard and want a sharper challenge.
-
Not recommended for: a first run, or any run where you want to explore leisurely.
-
Key skill: pre-positioning based on spawn knowledge rather than reactive dodging.
When Super Hard stops being fun
There is no shame in dropping back down. Super Hard is designed around mastery, and if you find yourself wiping repeatedly to the same room, the tier is telling you that a specific pattern has not clicked yet. Stepping down to Hard to drill that pattern and returning later is a far more efficient use of time than grinding attempts on a setting that is currently above your comfort level.
Which PETAPETA difficulty level should you pick?
The right choice depends on what you want from the run: if you are still learning PETAPETA Normal mode's enemy telegraphs, staying on Normal preserves readable wind-up animations and forgiving damage windows, whereas jumping straight to Hard tightens those timings and punishes mistimed dodges before you have internalized the boss attack patterns. Use the decision table below as a quick filter, then commit — the PETAPETA difficulty modes are switchable at any point, so a wrong guess costs you very little beyond a short replay of the current area.
| Your situation | Recommended setting |
|---|---|
| First time playing PETAPETA | Normal |
| Returning after a long break | Normal, then Hard |
| Comfortable with action combat timing | Hard |
| Chasing a clean or fast run | Super Hard |
| Wanting to learn boss patterns safely | Normal |
| Testing a build idea quickly | Normal |
A practical compromise many players use is to learn each new area on Normal and then replay it on Hard once the layout is familiar. That hybrid approach keeps progress steady without turning every new room into a wall. The PETAPETA difficulty modes are flexible enough to support that rhythm, and there is no penalty for changing your mind mid-playthrough.
Matching difficulty to your goal
Ask yourself one question before you start: am I playing to see the content, or to master the combat? If it is the former, Normal is the correct answer and there is nothing lesser about it. If it is the latter, Hard is where the systems start demanding real input from you. Super Hard only makes sense once mastery is already the goal rather than an aspiration.
Frequently Asked Questions
What is the difference between Normal and Hard in PETAPETA?
Hard reduces your health pool, tightens parry and dodge windows, and makes healing pickups scarcer, while keeping the same level layouts and story content. The jump from Normal to Hard is the largest single step in the PETAPETA difficulty ranking, because those changes compound rather than acting independently.
Is there a PETAPETA easy mode separate from Normal?
Normal effectively serves as the accessible tier, with generous telegraphs, frequent healing, and forgiving checkpoint spacing. Community discussion around an easier setting usually concludes that Normal already fills that role, so players looking for a gentler first run should simply start there rather than expecting a separate mode.
Can I change difficulty in the middle of a playthrough?
Yes. The settings are switchable between runs from the menu, so you can test a higher tier without restarting your save. Many players learn a new area on Normal and then replay it on Hard once the layout and enemy spawns are familiar, which keeps progress steady without turning every room into a wall.
Which difficulty should I pick for my first PETAPETA run?
Start on Normal. It is the setting the game is balanced around for a first playthrough, and it lets you explore optional routes and learn boss patterns without punishing curiosity. Once you can clear Normal comfortably and have stopped relying on healing as a crutch, moving up to Hard is the natural next step.
Is Super Hard worth it if I already beat Hard?
It is worth it if mastery is your goal rather than just finishing the content. Super Hard refines the Hard experience by removing safety margins, so the skills transfer directly — the challenge is consistency, not learning a new system. If you are chasing a clean or fast run, it is the tier built for that.
The short version: Normal teaches you the game, Hard tests you, and Super Hard assumes you already know it. The gap between tiers is deliberately uneven — Hard's shrunken health pool and tighter parry windows make it the steepest climb, while Super Hard mostly strips away the remaining safety margins rather than adding new mechanics. Pick the tier that matches the run you actually want to have, and switch freely as your comfort level changes.