
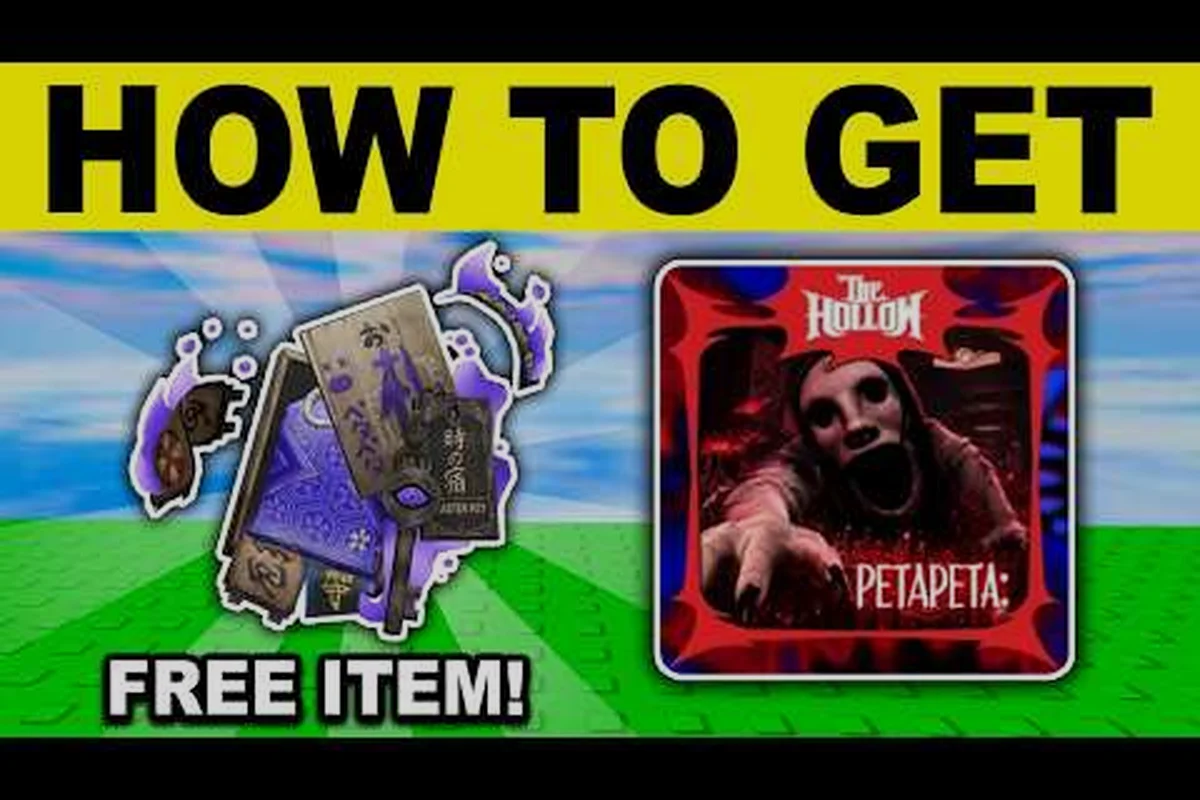
PETAPETA hidden secrets reward the players who slow down, and this guide maps out the easter eggs, badge pickups, and alternate outcomes that most runs miss entirely. If you have already cleared the main path once, these are the discoveries that make a second playthrough worth starting tonight.
What Counts as a Hidden Secret in PETAPETA
Not every odd detail is a secret. The game separates its bonus content into three loose tiers: cosmetic easter eggs that reference other media, mechanical unlocks like badges and hidden items, and branching story outcomes that change how a run ends. Knowing which tier you are chasing saves hours of aimless wandering, because each one demands a different approach. Cosmetic eggs usually need a specific action in a specific room, badges often require a sequence of interactions spread across a chapter, and secret endings hinge on choices you make long before the final area.
Community reports suggest the majority of players finish their first run with fewer than half of the badge pickups collected, which is why a structured secrets guide matters more than raw exploration. The table below breaks down how each secret type behaves so you can plan your route.
| Secret Type | How It Triggers | Typical Location | Reset Behavior |
|---|---|---|---|
| Cosmetic easter egg | Interact with an object in a set order | Side rooms, break areas | Resets on chapter reload |
| Badge pickup | Complete a hidden interaction chain | Mid-chapter corridors | Persists once collected |
| Hidden item | Find an unmarked container or alcove | Off-path dead ends | Persists across saves |
| Secret ending | Accumulate flagged choices | Final area gate | Requires fresh run |
The key takeaway is that badge pickups and hidden items are permanent, so you can hunt them across multiple sessions without losing progress. Secret endings are the exception, since they check a flag history that only a clean playthrough can satisfy.
Why the School of Nightmares Matters
The School of Nightmares area is the densest concentration of PETAPETA easter eggs in the entire game. Its classrooms, lockers, and chalkboards hide references that range from subtle graffiti to full prop recreations, and several of them only appear after you interact with a seemingly useless object first. Players who rush the corridor sequence walk past at least four of these without noticing.
PETAPETA Easter Eggs Worth Hunting Down
The easter eggs in this game fall into two camps: visual gags that reward a keen eye and interactive props that actually do something when poked. The visual ones cost you nothing but a moment of curiosity, while the interactive ones can hand over small rewards or unlock a badge. Because the game never signposts them, the only reliable method is a checklist and a willingness to backtrack. According to community data, the chalkboard references in the School of Nightmares are the most commonly missed set, largely because the room they sit in looks like pure decoration.
| Easter Egg | Area | Trigger | Reward |
|---|---|---|---|
| Chalkboard doodles | School of Nightmares | Read all three boards in order | Cosmetic flag |
| Locker note | School of Nightmares | Open the locker with a scratched handle | Lore snippet |
| Vending machine | Mid-game hub | Buy the cheapest item twice | Hidden snack item |
| Broken clock | Clock tower corridor | Interact at a specific in-game hour | Badge progress |
| Mural panel | Final area approach | Inspect after collecting three badges | Secret ending flag |
Each of these is a one-time interaction, so there is no penalty for experimenting — you can re-poke the vending machine, re-read the chalkboard doodles, or re-inspect the mural panel without burning a trigger. If a prop does not respond, you are usually missing a prerequisite rather than standing in the wrong place: the mural panel stays inert until all three badges are collected, and the broken clock in the clock tower corridor only fires at its specific in-game hour, so waiting out the day cycle beats relocating. Work down the table row by row and treat a silent prop as a checklist gap, not a dead end.
The Vending Machine Trick
The vending machine egg is the easiest to verify and the most commonly overlooked. Buying the cheapest item twice in a row triggers a hidden dialogue line and drops a snack item that restores a small amount of stamina. It is not a game-changer, but it confirms the game rewards repeat interactions, which is the mindset you need for the rest of this secrets guide.
Chalkboard Order Matters
Reading the School of Nightmares chalkboards in the wrong order does nothing. The correct sequence runs left to right across the back wall, then the side board, and finishing the set flips a cosmetic flag that changes a background detail in the epilogue. It is a small payoff, but it is one of the clearest examples of how PETAPETA hidden secrets are designed: quiet, optional, and satisfying when you connect the dots.
Badge Pickups Most Players Walk Past
Badges are the most tangible reward in the secrets system because they persist and feed into the ending checks. The problem is placement. Several badges sit in alcoves that the camera angle actively hides, and a few require you to backtrack after a story event changes a room's layout. The full walkthrough covers the main route in detail, but the badge locations below are the ones that fall outside that path.
| Badge | Chapter | Location Cue | Prerequisite |
|---|---|---|---|
| Nightmare Badge | School of Nightmares | Behind the collapsed desk | None |
| Clockwork Badge | Clock tower | Top landing after the bell rings | Ring the bell once |
| Archive Badge | Library wing | Shelf gap on the second floor | Move the ladder |
| Reflection Badge | Mirror hall | Interact with the cracked mirror | Collect two prior badges |
| Final Badge | Endgame gate | Hidden panel beside the door | All four above |
The Reflection Badge is the usual sticking point. It will not appear until you have two other badges in your inventory, and the cracked mirror gives no feedback if you approach it too early. If you are stuck, check your badge count before assuming the room is bugged.
Backtracking After Story Events
Two of the badges only spawn after a story beat alters the environment. The Clockwork Badge is the clearest case: the top landing is inaccessible until the bell sequence plays, and the badge appears only after the ringing animation completes. Players who explore the tower on their first pass and never return will miss it entirely, which is why a second sweep of each chapter is worth the time.
Using Badges to Gate Content
Badges are not just collectibles. Certain doors and dialogue branches check how many you carry, and the final gate will not open its hidden panel unless you hold all four earlier badges. This is the mechanical backbone of PETAPETA secret endings, so treat badge collection as a prerequisite rather than a side hobby.
How PETAPETA Secret Endings Unlock
Secret endings in this game are not triggered by a single choice at the climax. Instead, the game quietly tracks a set of flags across your run, and the final area evaluates them when you reach the gate. That design means you cannot brute-force a secret ending on your last save; you either built the flag history or you did not. The endings guide breaks down every outcome in full, while the summary below shows the flag categories that matter.
| Flag Category | Example Trigger | Weight |
|---|---|---|
| Badge count | Holding all four early badges | High |
| Easter egg flags | Chalkboard set, mural panel | Medium |
| Dialogue choices | Specific responses in key scenes | High |
| Item pickups | Hidden containers in off-path rooms | Low |
The weighting is not officially published, but community testing points to badge count and dialogue choices as the two decisive factors. A run with every easter egg but no badges will not reach the secret ending, while a badge-complete run with neutral dialogue lands on a different branch. If you want the full picture of how these branches resolve, the story theories breakdown digs into what each ending implies.
Planning a Clean Run
Because flags persist per save file, the cleanest way to chase a secret ending is to start a fresh run with a checklist in hand. Prioritize badges first, since they are permanent and gate the final panel, then sweep easter eggs on the way through each chapter. Dialogue choices are the easiest to fumble, so decide early which responses you intend to give and stick to them consistently.
What Resets and What Does Not
Chapter reloads reset cosmetic eggs and some room states, but badges, hidden items, and dialogue flags stay locked to the save. That asymmetry is useful: you can experiment with easter egg triggers freely without risking your ending progress. Just avoid overwriting the save you intend to finish on.
Practical Route for a Secrets-Focused Playthrough
Putting all of this together, the most efficient approach is a chapter-by-chapter sweep rather than a single exhaustive hunt. The route below keeps backtracking to a minimum and lines up with the natural story flow. If you want the underlying systems explained in more depth, the game mechanics overview covers how flags and persistence work under the hood.
-
Chapter 1: Sweep side rooms for hidden containers, note any unresponsive props for later.
-
Chapter 2 (School of Nightmares): Read all chalkboards in order, open the scratched locker, grab the Nightmare Badge behind the collapsed desk.
-
Chapter 3 (Clock tower): Ring the bell, wait for the animation, then climb to the top landing for the Clockwork Badge.
-
Chapter 4 (Library wing): Move the ladder, check the second-floor shelf gap for the Archive Badge.
-
Chapter 5 (Mirror hall): With two badges in hand, interact with the cracked mirror for the Reflection Badge.
-
Endgame: Inspect the mural panel, then open the hidden gate panel with all four badges to reach the secret ending branch.
This route assumes you are not speedrunning. Rushing the corridor sequences is the single biggest cause of missed secrets, since several triggers only register if you interact before moving past a threshold — the Chapter 2 chalkboard sequence is the clearest example, where reading boards out of order or walking past one mid-animation can leave the scratched locker flag unset, silently locking you out of the Nightmare Badge for that run. Because badge checks in the Mirror hall and Endgame gate panel are cumulative, one skipped trigger in Chapter 1 or 2 can cascade into a failed secret ending branch hours later. Take the extra thirty seconds per room, and if a prop looks unresponsive, back out and re-enter the room before moving on.
Common Mistakes That Cost Secrets
Three errors account for most missed content. First, players interact with a prop once, get no response, and never return, even though the trigger needed a prerequisite. Second, players reload a chapter to retry an easter egg and accidentally reset a room state they needed. Third, players assume the secret ending is a final-choice toggle and skip badge collection entirely. Avoiding these three habits alone will put you ahead of most runs.
When to Use a Puzzle Reference
Some secrets sit behind sequence puzzles that give almost no feedback when you fail. The puzzle guide is the faster route for those rooms, especially the clock tower bell sequence and the mirror hall alignment. There is no shame in checking a solution for a puzzle that refuses to telegraph its rules.
Frequently Asked Questions
How many PETAPETA hidden secrets are there in total?
Community tracking puts the count at roughly a dozen distinct secrets across easter eggs, badges, hidden items, and ending flags. The exact number is not officially confirmed, so treat any list as a working inventory rather than a definitive total.
Do easter eggs carry over between playthroughs?
Cosmetic easter eggs reset when you reload a chapter, while badges and hidden items stay locked to the save file — a split that matters because the final gate panel only checks your badge inventory, not your cosmetic flag count. If you are chasing a secret ending, the permanent unlocks are the ones that matter most: a missed cosmetic costs you nothing at the gate, but a missed badge means backtracking to its chapter before the panel will open.
Can I get a PETAPETA secret ending on my first run?
Yes, but only if you collect all four early badges and lock in the correct dialogue choices before the final gate. The gate panel checks badge inventory alone, so a missed cosmetic flag costs nothing while a missing badge forces a backtrack to its chapter. Most first runs miss at least one badge, which is why a chapter-by-chapter checklist helps before you reach the final gate.
Is the School of Nightmares required for the secret ending?
It is not strictly required, but it holds the Nightmare Badge and several easter egg flags that feed into the ending checks. Skipping it makes a secret ending run significantly harder to complete. The School of Nightmares packs the highest density of PETAPETA hidden secrets into the smallest space, so clearing it in one sweep nets the Nightmare Badge alongside multiple cosmetic flags before the final gate panel ever comes into play.
What happens if I miss a badge?
Badges persist once collected, so a missed badge simply means backtracking to its chapter. The only hard lock is the final gate panel, which will not open until all four earlier badges are in your inventory. Because the gate reads badge inventory alone, a missed cosmetic flag costs nothing at the panel, but a missing Nightmare Badge from the School of Nightmares forces a full chapter replay before the secret ending check can even trigger.
Secret hunting in this game rewards patience over speed, and the payoff is a second run that feels genuinely different from the first. Collect the badges early, sweep each chapter for easter eggs before moving on, and keep your dialogue choices consistent if a secret ending is the goal. The School of Nightmares remains the best starting point, since it packs the highest density of PETAPETA hidden secrets into the smallest space.