
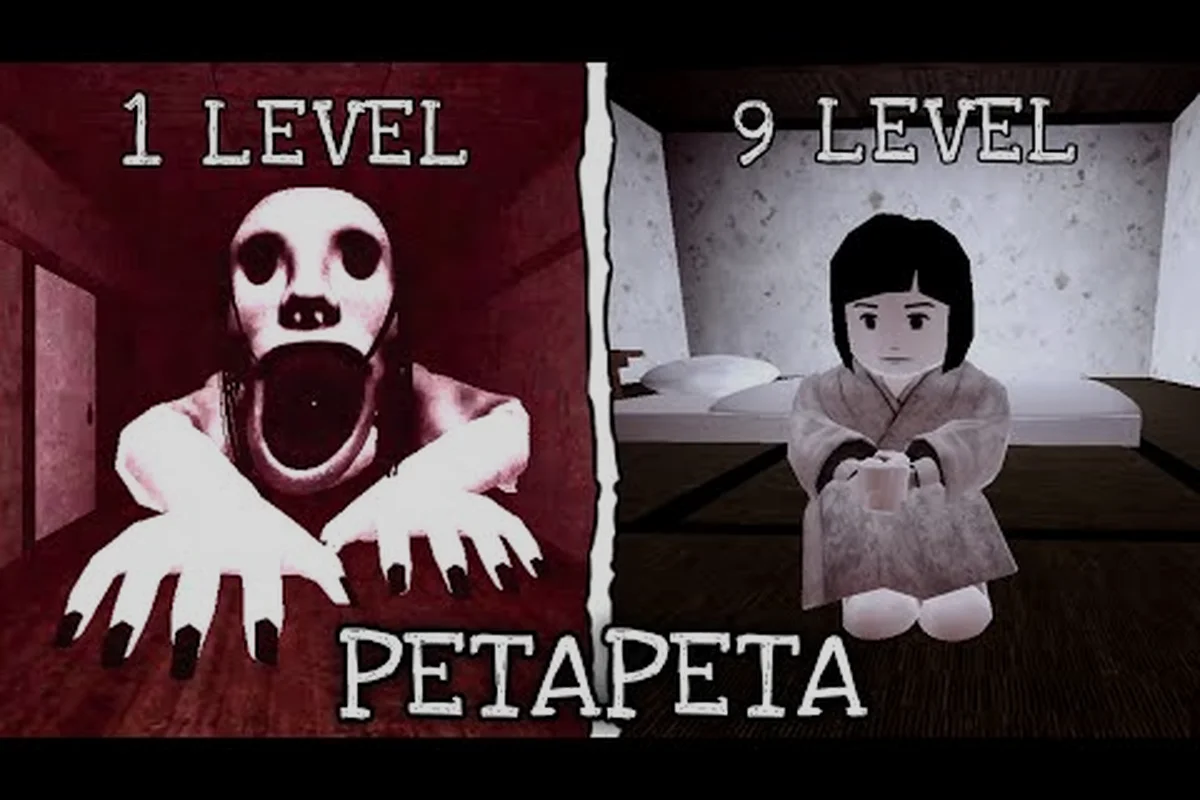
The PETAPETA level 7 walkthrough is where the game stops being polite. Up to this point you could brute-force your way through most rooms, but level 7 shrinks the safe space, speeds up the monster's patrol, and punishes every noisy mistake. This guide covers the exact routes for levels 7, 8, and 9 so you can finish the last stretch without a dozen retries.
Why PETAPETA level 7 changes the pacing
Level 7 is the first stage that genuinely tests whether you understand the game's sound and sight systems. The monster no longer wanders in wide loops; it commits to shorter patrol legs and turns faster, which means the old habit of "wait for it to walk past, then sprint" stops working. If you have been coasting on luck, this is the stage that exposes it.
The core shift is that the safe corridors are narrower and the number of hiding spots drops noticeably compared to earlier stages. Community reports consistently describe level 7 as the difficulty spike of the mid-game, and that matches what most players experience on their first attempt.
Here is how the three stages compare on the mechanics that matter most: patrol speed climbs from Fast at level 7 to Very fast at level 8 before turning erratic at level 9, while hiding spots shrink from Few to Moderate and then Very few. Noise tolerance stays Low through levels 7 and 8, then drops to Very low at level 9, so any sprint or dropped item that survives level 7 will betray you later. Key items required also jump from 2 to 3 at level 8, and level 9 adds a fuse on top of 2 keys, which is why first-try clear times stretch from 8–12 minutes at PETAPETA level 7 to 12–18 minutes by level 9.
| Mechanic | Level 7 | Level 8 | Level 9 |
|---|---|---|---|
| Monster patrol speed | Fast | Very fast | Fast but erratic |
| Hiding spots available | Few | Moderate | Very few |
| Noise tolerance | Low | Low | Very low |
| Key items required | 2 | 3 | 2 plus a fuse |
| Typical clear time (first try) | 8–12 min | 10–15 min | 12–18 min |
The table makes the design intent obvious: level 7 removes your margin for error, level 8 adds more objectives on top of that pressure, and level 9 strips away the hiding spots you relied on. Plan your route around those constraints rather than reacting to them in the moment.
The two mistakes that end most level 7 runs
The first is sprinting through open floor. Sprinting generates noise that the monster can track, and on level 7 the patrol routes cross the main hallway often enough that a single sprint usually pulls it toward you. Walk unless you are actively breaking line of sight.
The second is doubling back for a missed item. If you forget a key item and turn around, you re-enter a corridor the monster has already swept, and it tends to loop back through the same area. Grab items in route order or accept the reset.
PETAPETA Level 7 Walkthrough: Route and Exits
Start by orienting yourself at the entry room and identifying the two exits. The left exit leads toward the first key item; the right exit loops toward the fuse box. Take the left first, because the monster's opening patrol always begins on the right side of the map, giving you a free window of roughly 40 seconds.
Follow this order and you will rarely meet the monster head-on: the sequence is built around the monster's fixed patrol loop, so each step buys you distance from its current leg rather than relying on speed. The critical timing detail is that the monster pauses at the fuse box corner for roughly 8 seconds before turning back — that pause is your green light for the central crossing, since it pins the monster to the far right while you slip through the middle. Skip the order and you will end up crossing the central area on the monster's return leg, which is exactly where most level 7 deaths happen.
-
Move left through the narrow corridor and pick up the first key item from the side room.
-
Backtrack one room and cut through the ventilation gap instead of the main hall.
-
Cross the central area only when the monster is on the far right patrol leg.
-
Retrieve the second key item from the storage room near the fuse box.
-
Return to the exit door and use both items to unlock it.
The ventilation gap is the single most valuable piece of level 7 geography. It is quiet, it bypasses the hallway the monster favors, and it puts you within a few steps of the storage room. Players who learn this shortcut typically cut their clear time in half.
If you are still shaky on the fundamentals of movement and item handling, the early level walkthrough for levels 1 through 3 covers the basics that level 7 assumes you already know — specifically the crouch-walk speed penalty and how item pickup animations lock you in place for about a second. Both matter here: the ventilation gap is too low to cross upright, and grabbing the second key item while the monster is mid-pause at the fuse box corner leaves no margin for a slow pickup animation. Practice those two habits on the earlier levels before attempting the level 7 route, because the 8-second fuse box window assumes you can enter the gap and exit the storage room without a single wasted input.
Timing the central crossing
The central area is the only place on level 7 where you cannot avoid the monster's line of sight entirely, so treat it as a timing puzzle. Watch the patrol pattern for one full cycle before committing. The monster takes a predictable pause near the right-hand doorway, and that pause is your window.
Wait for the pause, then walk across diagonally rather than straight through the middle. The diagonal path keeps you closer to cover on both ends, so if the monster turns early you can duck behind the crates instead of being caught in the open. Do not sprint here; the noise will cancel the advantage of the timing window.
PETAPETA level 8 guide: three objectives, one route
Level 8 keeps the tighter patrol behavior from level 7 but adds a third objective, which means more time on the map and more chances to be spotted. The stage is not harder because the monster is smarter; it is harder because you spend longer in its territory.
The efficient approach is to chain the three objectives into a single loop instead of returning to the center between each one. Because the level 8 patrol tightens around the generator room in the late phase, that loop should run west wing → basement stairwell → east corridor → generator room → main exit, so the two fuse pickups and both insert actions happen back-to-back while the monster is still cycling the outer corridors. Here is the loop structure:
| Step | Location | Action | Risk level |
|---|---|---|---|
| 1 | West wing | Collect the first fuse | Low |
| 2 | Basement stairwell | Insert fuse and restore power | Medium |
| 3 | East corridor | Collect the second fuse | Medium |
| 4 | Generator room | Insert fuse and start the machine | High |
| 5 | Main exit | Hold the door until it opens | High |
The risk climbs as you go because the monster's patrol shifts toward the generator room in the late phase of the stage. That is intentional design pressure, and the counter is simple: do the low-risk objectives first so that your high-risk steps happen when you still have full knowledge of the monster's position.
Managing the power-restoration phase
Restoring power changes the lighting in the basement stairwell, which sounds helpful but actually makes you more visible from the corridor above. Crouch behind the stairwell railing while the fuse is being inserted, and only stand once the animation completes.
The generator room is the real test. The machine takes several seconds to spin up, and during that window you cannot move. Clear the room first, confirm the monster is on the opposite patrol leg, and only then start the machine. If you hear footsteps during the spin-up, you have already lost the timing and should expect to restart the stage.
Players who want to see these routes in motion can check the PETAPETA walkthrough video collection for no-commentary runs of the mid-game stages. When watching, focus on the power-restoration segment specifically: note how the runner times the fuse insertion against the monster's patrol leg rather than reacting to audio, and how the generator spin-up is only started after the corridor above is confirmed clear. Comparing a clean run against a failed one side by side makes the timing windows far easier to internalize than text alone, and the same pacing habits carry directly into the level 8 and level 9 layouts.
PETAPETA level 9 walkthrough: the finale route
Level 9 is the shortest of the three stages but the least forgiving. Hiding spots are almost gone, so the entire stage is built around never being seen in the first place. The monster moves in erratic bursts rather than clean patrol loops, which makes prediction harder than in levels 7 and 8.
The stage has two key items and a fuse, and the fuse must be installed before the exit will respond — the panel only accepts the fuse once the maintenance alcove pickup has been registered, so grabbing it out of order wastes a full monster burst cycle. The route that works most consistently is:
-
Take the left service corridor immediately at the start, before the monster's first burst.
-
Collect the first key item from the maintenance alcove.
-
Move through the crawl space to the fuse panel and install the fuse.
-
Cross to the right side using the outer walkway, not the interior hall.
-
Collect the second key item and unlock the exit.
The crawl space is slow but almost silent, and on level 9 silence matters more than speed. The outer walkway is the opposite trade-off: faster, but exposed. Use it only when you have confirmed the monster is on the interior route.
Reading the erratic patrol
Because level 9's monster does not follow a clean loop, you need to read its direction rather than its schedule. The reliable tell is the sound cue that precedes each burst — a short scrape that plays a moment before it moves. When you hear the scrape, stop moving and let it commit to a direction before you continue.
This is the same sound-reading skill the level 4 through 6 walkthrough introduces, but the slower enemies there give you a forgiving window — roughly a full beat between scrape and movement — whereas level 9 compresses that gap so the scrape and the burst nearly overlap. If the timing feels impossible here, go back and drill those stages until you can react to the scrape without consciously thinking about it; the goal is to build the stop-and-wait reflex on predictable patrols so that when the erratic level 9 monster commits to a direction, you are already stationary and reading its next tell instead of scrambling to recover.
Comparison: which stage deserves the most practice
Not every stage in this stretch needs equal preparation. Some are mechanically simple but tense; others are complex but forgiving. This breakdown helps you decide where to spend your retries: level 7's medium-high difficulty comes almost entirely from its narrow safe corridors, so your retries are best spent memorizing patrol routes rather than rehearsing stealth timing; level 8 raises the threat through long exposure time, which punishes hesitation and rewards chaining objectives quickly; and level 9's very high rating stems from erratic patrol behavior, making sound cue reading the single most valuable skill to drill before you attempt it.
| Stage | Difficulty | Main threat | Best practice focus |
|---|---|---|---|
| Level 7 | Medium-high | Narrow safe corridors | Route memorization |
| Level 8 | High | Long exposure time | Objective chaining |
| Level 9 | Very high | Erratic patrol | Sound cue reading |
If you only have time to practice one stage, practice level 9. Its skills — reading sound cues and moving in silence — transfer backward and make levels 7 and 8 noticeably easier on repeat runs. The payoff is concrete: level 9's erratic patrols force you to track audio tells and time your movement to them, and that same habit directly answers level 7's narrow safe corridors, where one careless sprint into a patrol's hearing radius ends the run. In effect, drilling level 9's sound cue reading converts level 7's route memorization from blind trial-and-error into informed timing, cutting the retries you would otherwise burn learning patrol windows by ear.
Items worth carrying into each stage
Carrying the right consumables changes the difficulty curve more than most players expect. Noise-dampening items are the highest-value pick for all three stages, because every one of them punishes sound. Speed boosts are a trap on level 9, where the erratic patrol makes fast movement riskier than slow movement.
Bring at least one distraction item into level 8, where the generator room forces you to stand still for several seconds while the spin-up meter fills. The generator emits a rising hum that draws the entity toward your position, so the standstill isn't passive — it's a countdown you can't cancel once started. Deploy the distraction at the far end of the room, ideally behind a pillar or crate, so the noise source pulls the entity's patrol path away from the generator itself. A well-timed distraction buys exactly the window you need to finish the spin-up without being interrupted, and pairing it with a noise-dampening item covers the gap if the entity doubles back before the meter completes.
Frequently Asked Questions
How long does the PETAPETA level 7 walkthrough take on a first attempt?
Most players need somewhere between 8 and 12 minutes on their first clear, and often two or three attempts before the route sticks. Once you know the ventilation gap shortcut and the central crossing timing, repeat runs usually drop under six minutes without much effort.
Is level 8 harder than level 9?
Level 9 is harder overall because the erratic patrol removes your ability to predict the monster, but level 8 catches more players off guard. The generator room forces a long stationary animation, and that single moment accounts for most level 8 failures reported by players.
Can I skip objectives on level 9?
No. The exit will not respond until the fuse is installed and both key items are collected. There is no alternate exit and no shortcut that bypasses the fuse panel, so the crawl space route is the fastest legitimate path through the stage.
What is the most common mistake on level 7?
Sprinting through the central hallway. It generates noise the monster tracks directly, and the patrol route crosses that hallway often enough that a single sprint usually pulls it into your path. Walking the diagonal crossing instead solves most level 7 deaths.
Do these routes work on every platform?
The layout itself is identical across PC, console, and mobile — same ventilation gap position, same diagonal crossing angle, same fuse panel placement — but frame rate changes how forgiving the timing feels. On sub-30 FPS hardware the monster's patrol turn animation renders late, so the central hallway window can read as roughly half a second tighter than it actually is. Before you blame the route, drop shadow quality and cap your frame rate to a stable value; a locked 60 FPS restores the crossing window that the level 7 walkthrough assumes.
Wrapping up the final stretch
Levels 7, 8, and 9 form a deliberate difficulty ramp: level 7 teaches you to respect narrow safe space, level 8 tests whether you can chain objectives under pressure, and level 9 demands that you read the monster instead of memorizing it. The routes above give you a reliable foundation, but the real skill is learning to stop moving when the sound cue plays.
Practice level 9 first if you want the biggest improvement across all three stages, and keep your loadout focused on noise reduction rather than speed. Once the patrol patterns click, this stretch of the game stops feeling unfair and starts feeling like the best-designed section of the campaign.